DIY: Forging a knife (and building a forge)
A friend of mine and I always love trying out new things. I got an old anvil from the grandfather of another friend, so one day we decided to forge a knife. We both have never forged forged anything so this project was just us trying things for the first time.
Building the forge
At first we needed a forge, so we bought a buttloads of charcoal, which we transported on my motorcycle (alongside the two of us of course) and built a small construction using some stones I had laying around. Our first forge wasn’t very good, as you can see in the picture below.
But we already had plans for a better one and the stuff needed to build it was - of course - transported on the same motorcycle ride.
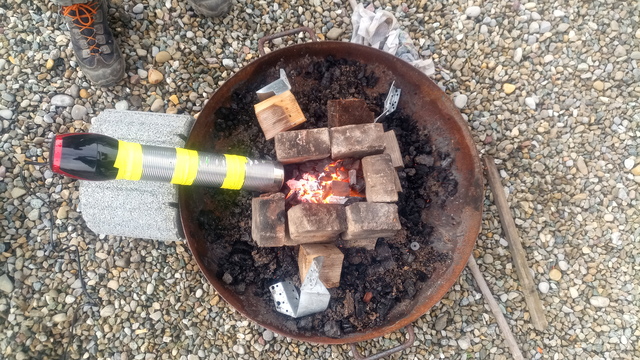
We used a cheap hairdryer to ensure good and steady airflow and some tin cans to protect it from the heat. Soon we realised, that we won’t get anywhere with this forge and decided to build the one we had in mind.
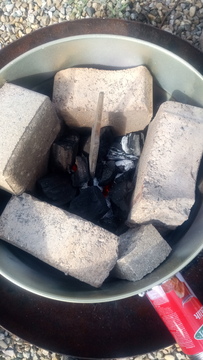
To do so, we took the ash bin we bought earlier and punctured the lid with an awl. This lid was placed in the bottom of the bin slightly tilted, to allow the airflow through. Through the side of the bin we cut a hole to fit in the cans attached to the hairdryer. Then we built up the stones alongside the wall to isolate the whole thing.
Forging the knife
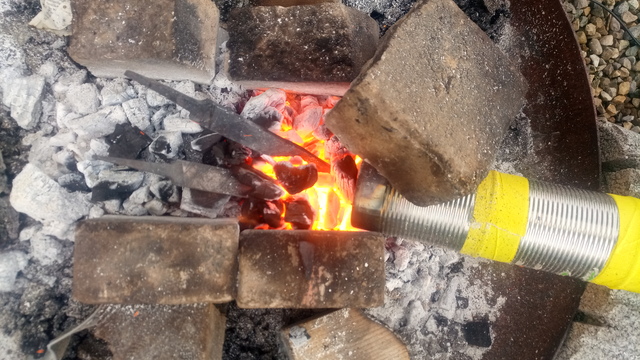
To forge the knife we used some old files, which were supposed to have high carbon content. The files were cut to length and we used the back piece as it was already narrowed down to fit inside the handle.
Then we forged the steel until we had the rough shape of the knives worked out.
Finishing the blade
We then ground the blade until it was narrow enough. The blades were heated red hot and we let them cool down slowly for the steel to normalise. Without this step, the steel would be more likely to bend during the hardening process.
We again heated the blades red hot for a last time and quenched them in water, because we forgot to buy any oil.
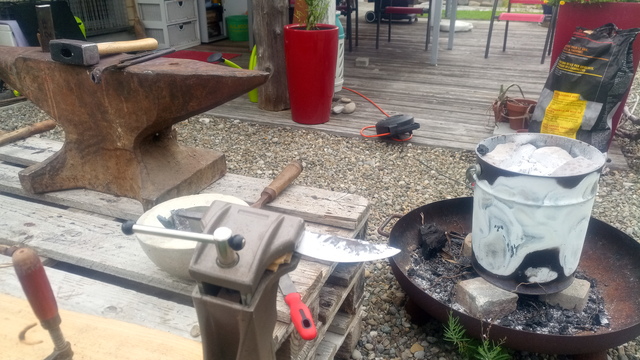
Using the files we then sharpened the blade until it was as sharp as it could get. With a grind stone we then finished this part of the process and the blades were sharp enough to actually use them.
Wooden handles
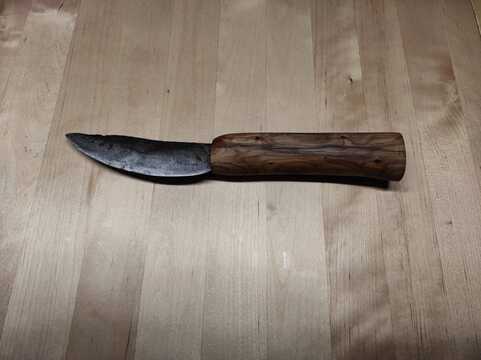
For the handles my friend collected a Yew branch earlier the week. We drilled some holes into the branch and used the red-hot narrow piece of the blade to fit the hole to size.
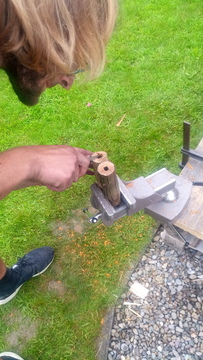
Using some Swiss Army Knives we carved the handles to our likings. And be careful, because the wood of the Yew tree is very hard and anything else but easy to carve.
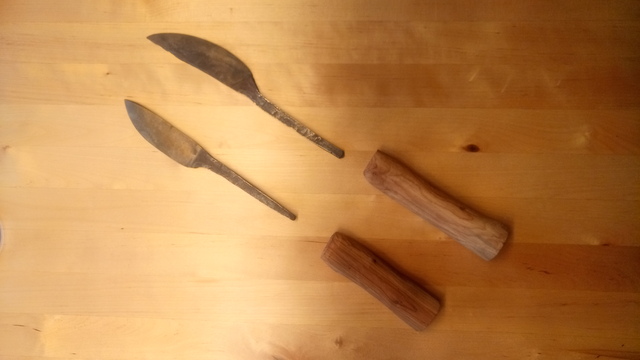
Leather sheaths
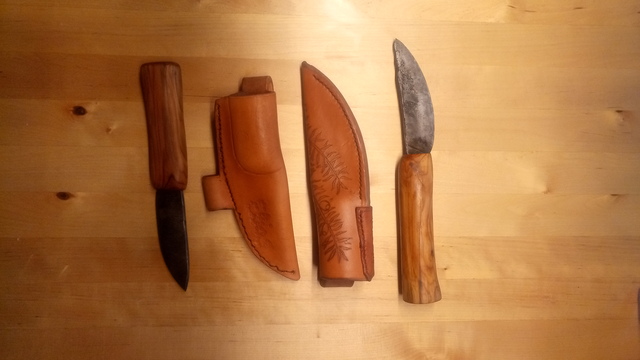
I still had some cow leather laying around, which we used to make some leather sheaths. The shape was measured by simply tracing the shape of the knife on both sides.
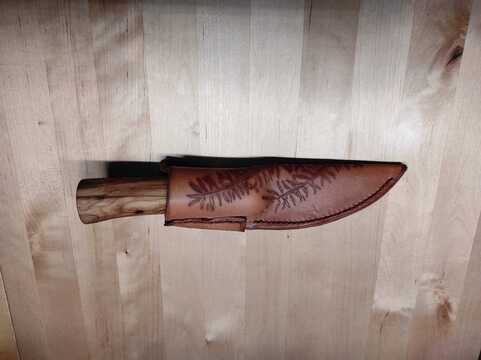
Then I decided to carve a Yew twig into the leather, as this would match with the theme.
The sheath was then sewn using some waxed linen thread and two needles.
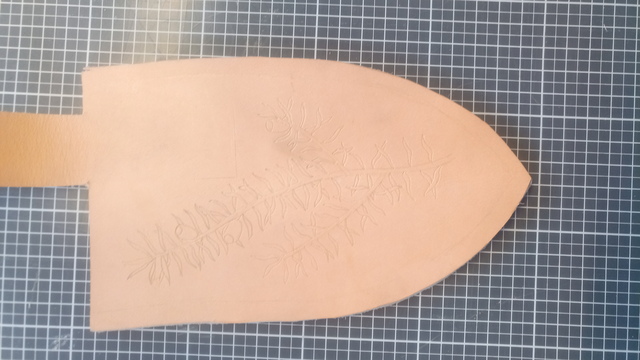
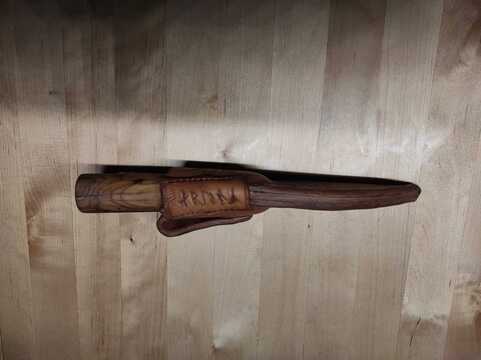
After test fitting the sheath I realised, that it was to narrow, where it should fit the handle. So I sewed a leather strap over, to close the hole. Into this strap I carved my name using Younger Futhark runes.
Final assembly
Finally it was time to assemble everyting.
The knives were glued into the handle using some birch pitch we made the same day.
The handles were waxed with some bee wax I had laying around and we were done.
